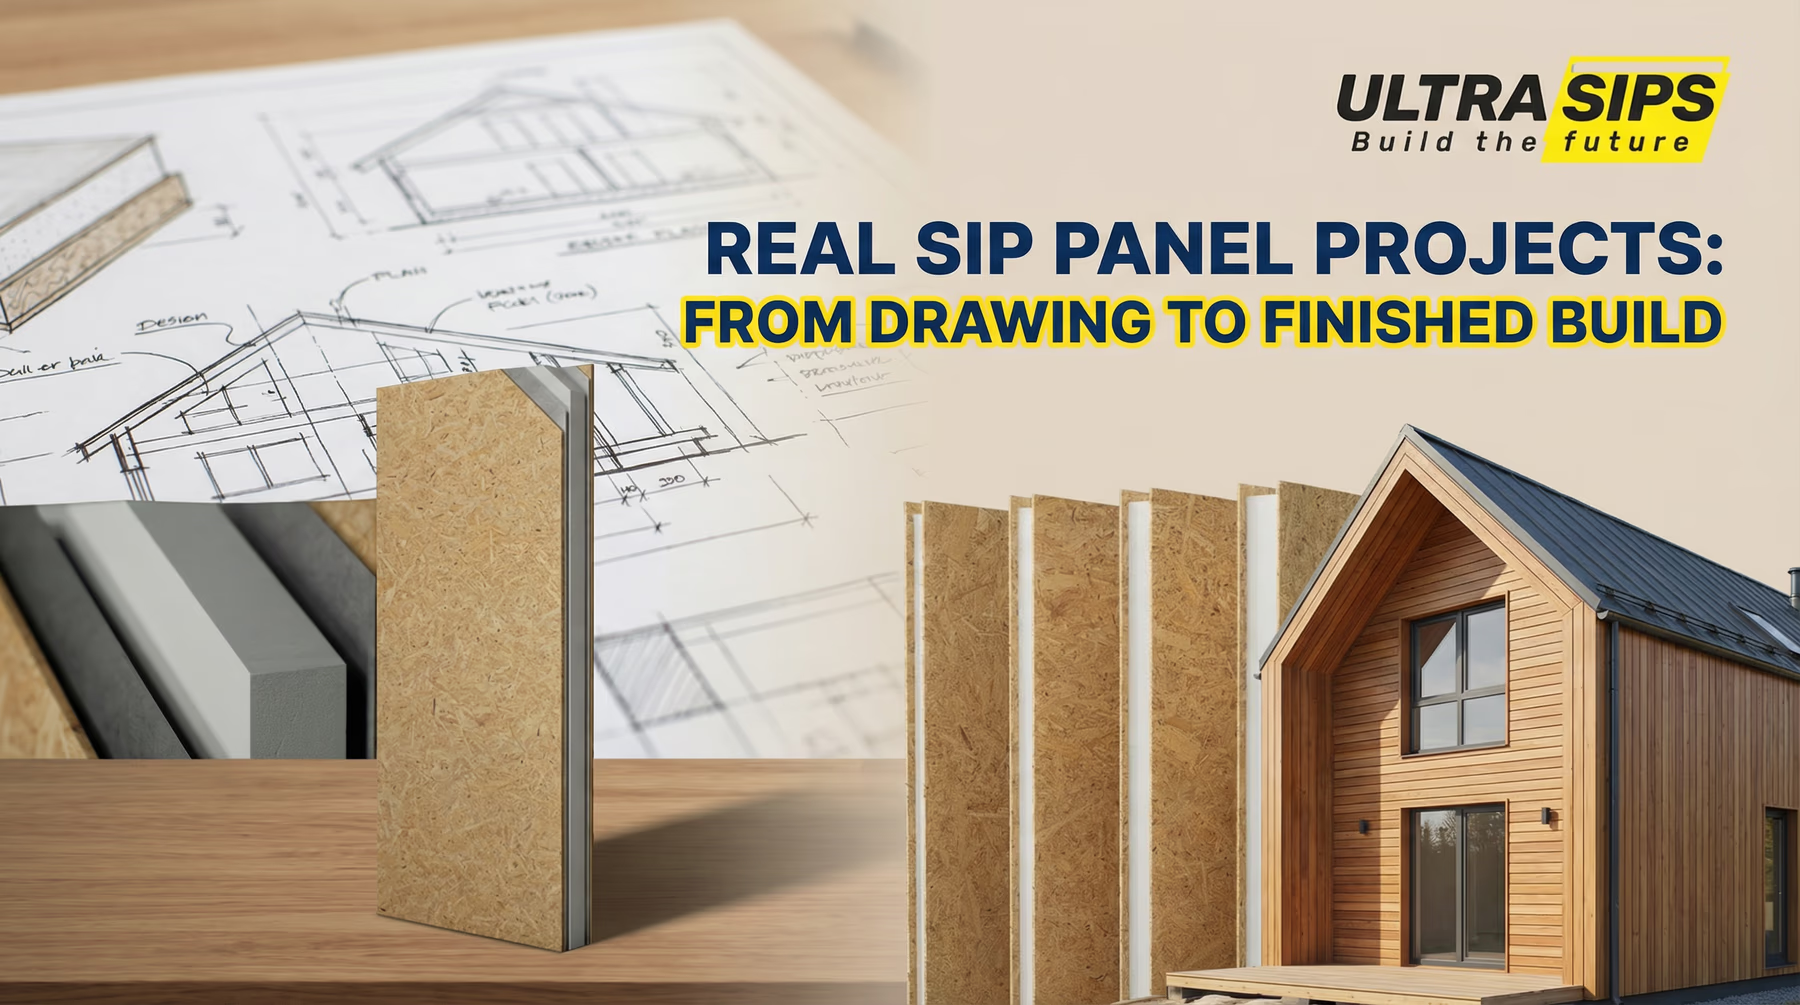
Real SIP Panel Projects: From Drawing to Finished Build
See exactly what happens from your initial sketch to finished SIP panel building—with real timelines, costs, and customer outcomes.
One of the most common questions we hear at Ultrasips is: "What does the process actually look like from start to finish?" Whether you're a self-builder planning your first project or a contractor exploring SIP panel construction, seeing real examples helps you understand exactly what to expect.
In this guide, we'll walk through actual SIP panel projects we've completed—showing you the process from initial sketch to finished building, with real timelines, costs, and outcomes.
The Ultrasips Process: How Your Project Unfolds
Every SIP panel project follows the same proven process, regardless of whether you're building a small garden office or a complete house. Here's exactly what happens at each stage.
Total typical timeline: 3-10 weeks from first contact to weather-tight shell
Stage 1: Send Us Your Drawings
What you need: A sketch showing basic dimensions, door and window positions, and overall layout. This can be hand-drawn on paper, a photo of a rough diagram, or professional architectural drawings.
What we don't need: Perfect CAD drawings or detailed specifications. As long as we can see the basic layout and dimensions, we can work with it.
Timeline: Same day you send it
Real Example: A customer photographed a sketch drawn on the back of an envelope showing a 4m x 3m garden office with two windows and a door. That was enough for us to start.
Stage 2: Receive Estimated Quotation (1-2 Business Days)
What happens: Our team reviews your drawings and calculates an estimated price for your complete SIP kit, including panels, splines, fixings, and delivery to your postcode.
What's included in the quote:
- All wall panels cut to your specifications
- Roof panels (if required)
- PIR splines for all panel joints
- Recommended fixings pack
- UK delivery
Real Example: Garden office customer received quote of £3,800-£4,200 within 24 hours, allowing them to confirm budget before proceeding.
Stage 3: Pay Drawing Fee & Get Professional 3D Drawings (1-2 Weeks)
What happens: If you're happy with the estimated price, you pay a drawing fee (typically £300-600 depending on project complexity). Our technical team then creates detailed 3D CAD drawings of your entire project.
✅ If You Buy From Us
100% refundable against your kit purchase if you order from us
If You Don't Buy
Yours to keep—use them with another supplier if you prefer
What you receive:
- Every panel shown individually with reference numbers
- Exact dimensions for each component
- All window and door openings marked
- Panel assembly sequence and instructions
- Connection details and spline positions
- Drawings suitable for Building Regulations submission
Watch how we transform sketches into professional 3D drawings
Real Example: Customer paid £350 drawing fee, received complete 3D package 12 days later showing 28 numbered panels with every opening clearly marked.
Stage 4: Final Quotation & Order Confirmation
What happens: Once you approve the drawings, we provide a final accurate quotation based on the exact panel count and specifications.
Your options at this point:
- Proceed with order - Pay deposit and we begin manufacturing
- Request changes - We'll revise drawings and update quote
- Decide not to proceed - Keep the professional drawings
Real Example: Final quote came to £4,050 (within original estimate). Customer paid 50% deposit and manufacturing was scheduled.
Stage 5: Manufacturing (1 Week+)
What happens: Your panels go into our UK manufacturing facility where we cut, bond, and label every component to exact specifications.
Manufacturing process:
- Panels cut using CNC machinery for precision
- All window and door openings created
- Sterling OSB bonded to Celotex insulation core
- Each panel labeled with reference number
- Quality checks on every component
- Secure packaging for transport
Real Example: 28-panel garden office kit manufactured in 10 days, including quality checks and packaging.
Stage 6: Delivery & Installation
What happens: Complete SIP kit delivered to your site on a lorry, typically on pallets, with all components clearly labeled.
Garden Rooms (20-30m²)
2-3 days with 2 people
Extensions (40-60m²)
1-2 weeks with 2-3 people
️ New Builds (100-150m²)
2-4 weeks with experienced crew
⚡ Real Example: DIY customer with a helper erected garden office shell in 2.5 days—walls up in one day, roof in another, half-day for sealing and checks.
Real Project Examples: What Customers Actually Built
Project 1: Garden Office (4m x 3m)
Customer requirement: Year-round insulated home office, professional appearance, good thermal performance.
Specification:
- Wall panels: 122mm (U-value 0.209 W/m²K)
- Roof panels: 142mm (U-value 0.179 W/m²K)
- Total: 28 panels (14 walls, 14 roof)
Timeline:
- Drawing to quote: 1 day
- 3D CAD drawings: 12 days
- Manufacturing: 10 days
- Installation: 3 days (DIY)
- Total: 26 days from contact to shell
Cost: £4,050 for complete SIP kit
Outcome: Customer now has comfortable, energy-efficient office that stays warm in winter with minimal heating. Reports heating costs are negligible.
Project 2: Two-Storey House Extension (6m x 4m)
Customer requirement: Add bedroom and bathroom upstairs, extend kitchen downstairs. Must meet Building Regulations Part L.
Specification:
- Wall panels: 142mm (U-value 0.179 W/m²K)
- Roof panels: 172mm (U-value 0.144 W/m²K)
- Total: 67 panels across two floors
Timeline:
- Drawing to quote: 2 days
- 3D CAD drawings: 3 weeks
- Manufacturing: 2 weeks
- Installation: 10 days (professional)
- Total: 7 weeks to weather-tight shell
Cost: £12,400 for complete SIP kit
Outcome: Extension erected in 10 days vs 4-6 weeks for traditional block construction. Building Control approved. Extension noticeably warmer than original house.
Project 3: Garden Studio with Pitched Roof (5m x 4m)
Customer requirement: Art studio with large windows, vaulted ceiling, premium insulation for year-round comfort.
Specification:
- Wall panels: 122mm (U-value 0.209 W/m²K)
- Pitched roof: 172mm (U-value 0.144 W/m²K)
- Total: 38 panels (complex roof)
Timeline:
- Drawing to quote: 1 day
- 3D CAD drawings: 16 days
- Manufacturing: 12 days
- Installation: 4 days (self-build)
- Total: 33 days from sketch to shell
Cost: £5,680 for complete SIP kit
Outcome: Dream art studio with vaulted ceilings achieved. Superior roof insulation means comfortable year-round. 3D drawings made self-installation straightforward.
Project 4: Self-Build Bungalow (80m² Floor Area)
Customer requirement: Retirement bungalow, highly energy-efficient, low maintenance, full Building Regulations compliance.
Specification:
- Wall panels: 142mm (U-value 0.179 W/m²K)
- Roof panels: 172mm (U-value 0.144 W/m²K)
- Total: 124 panels (walls, gables, roof)
Timeline:
- Drawing to quote: 3 days
- 3D CAD drawings: 4 weeks
- Manufacturing: 3 weeks
- Installation: 3 weeks (professional)
- Total: 10 weeks to weather-tight shell
Cost: £24,800 for complete SIP kit
Outcome: Shell erected in 3 weeks vs 8+ weeks traditional. Heating costs 60% lower than standard new build. Building Control praised drawing quality.
Common Questions About the Process
How accurate do my drawings need to be?
Not very accurate at all. We work from rough sketches regularly. As long as you show basic dimensions and indicate where doors and windows should go, we can create the technical drawings. That's what the drawing fee covers.
What if I want changes after seeing the 3D drawings?
Minor changes (moving a window 200mm, adjusting door position) are usually free. Major changes (adding rooms, changing dimensions significantly) may require revised drawings with additional design fees. We always discuss costs before making changes.
Can I install SIP panels myself?
Yes, many customers do. You need basic carpentry skills, proper tools, at least one helper (panels are large), and ability to follow detailed instructions. Smaller projects like garden rooms are very achievable for competent DIYers. Larger projects benefit from experienced installers.
How long do SIP panels last?
Expected lifespan is 60+ years when properly installed and protected from moisture. Many SIP buildings from the 1950s-1960s (when the technology was developed) are still performing excellently today.
What Makes SIP Projects Successful
Looking at hundreds of completed projects, the most successful ones share these characteristics:
Clear Communication
Projects run smoothly when customers clearly communicate vision, budget, and timeline upfront.
⏰ Realistic Timelines
SIP panels are fast but not instant. Allow time for design, manufacturing, and delivery.
️ Site Preparation
Have foundations ready. Ensure site access. Arrange lifting equipment if needed.
Follow Drawings
Our 3D CAD drawings are precise installation instructions—projects go fastest when followed exactly.
✨ Professional Finishing
Use breathable membranes, proper cladding, quality windows. Don't compromise on details.
Ready to Start Your Project?
Every building starts with an idea and a sketch. Transform your vision into reality with precision-manufactured SIP panels.
Your next steps:
- Sketch your idea
- Send it to us: enquiries@ultrasips.com or call 0800 033 7330
- Get your quote within 1-2 days
- Receive professional 3D drawings
- Start building
Need help choosing the right SIP panel specification?